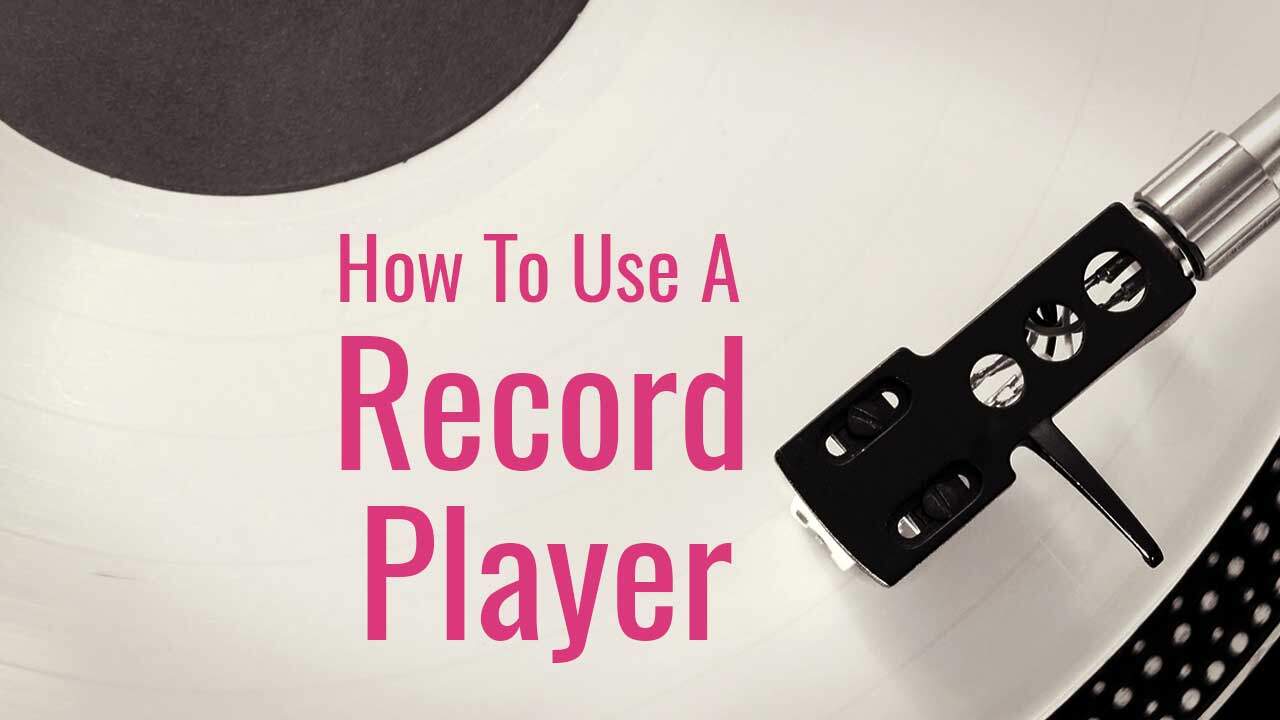
If you belong to the 1950s or 1960s era, you probably have a good collection of vinyl records that were really popular at that time. There’s a unique charm about lowering the needle gently into grooves and letting it slowly take its place on the rotating disc to give you soulful music.
It has been around for more than 100 years; hence, it’s like a treasure for people who are passionate about music. In this article we will talk about how to use a record player or turntable in its modern form.
Steps on how to use a record player
While turntables are very much like any other music system such as a CD player or mp3 player, they require a little extra care. When operating a record player or turntable, you need to be cautious about what you are doing to avoid harming the system.
Preparing the player
As mentioned above, the turntable needs a little extra care than other modern music devices, hence you need to prepare first to play the records. The turntable comes with a dust cover to protect the components when not in use. The presence of dust particles can muffle the sound so a dust cover is of utmost importance. If you have a hinged dust cover you may lower it again when the record is playing.
Now make sure that the turntable is not in a spinning mode. There are some models that come with a switch to turn on the rotation, while others start automatically when the needle is lowered on to the disc. Before placing the vinyl record make sure the needle is up and the platter is not spinning or else you may scratch the record.
Placing the record rightly
Hold the record on the edges with both hands and gently place it on the platter. Never touch the grooves. The spindle should be in the mid-point of the platter and go through the hole. Let the record comfortably rest on the platter before you switch on the turntable.
While removing the records, you will have to temporarily grab the record by the playing surface. Make sure you touch only the external surface that does not have groves to pull out the record. Shift your grip to the edges as soon as possible as oil from your hands can get transferred to the record and tamper the sound.
Turning on the platter
The settings to control the platter vary depending on the model and brand; however, most of them will have a switch to turn the power on or off. In some models, the power switch may be integrated with the speed options so you will have to select 33 rpm or 45 rpm. The standard 12 inches record will usually play at 33 rpm speed.
If you have an automatic turntable then the platter will start rotating when the tone arm is lifted towards it. It doesn’t require you to put the platter in motion.
Lifting, positioning and lowering the tonearm
Most turntables come with a cueing feature that has a switch that lifts the tonearm from its rest position and this is called cueing. Some brands come with a cue lever that helps in raising and lowering the tonearm.
When lowering the tonearm on the outer grooves of the record, you must take extra care and be gentle. Make sure the stylus comes in contact with the grooves as smoothly as possible, without any clicking sounds.
Conclusion
When you are done with listening to the record, gently lift the tonearm and place it back to its resting position. Most turntable models will allow you to connect the device to a stereo sound box or other non-Bluetooth enabled devices. Make sure you attach the cables correctly by referring to the user manual.
Keep the turntable clean and free of dust to extend its life. Clean it properly before storing because dust easily accumulates on the needle and this can damage the overall sound quality. Taking care of your turntable can go a long way in protecting your investment and enabling you to listen to your favorite songs anytime you wish.


Leave a Reply